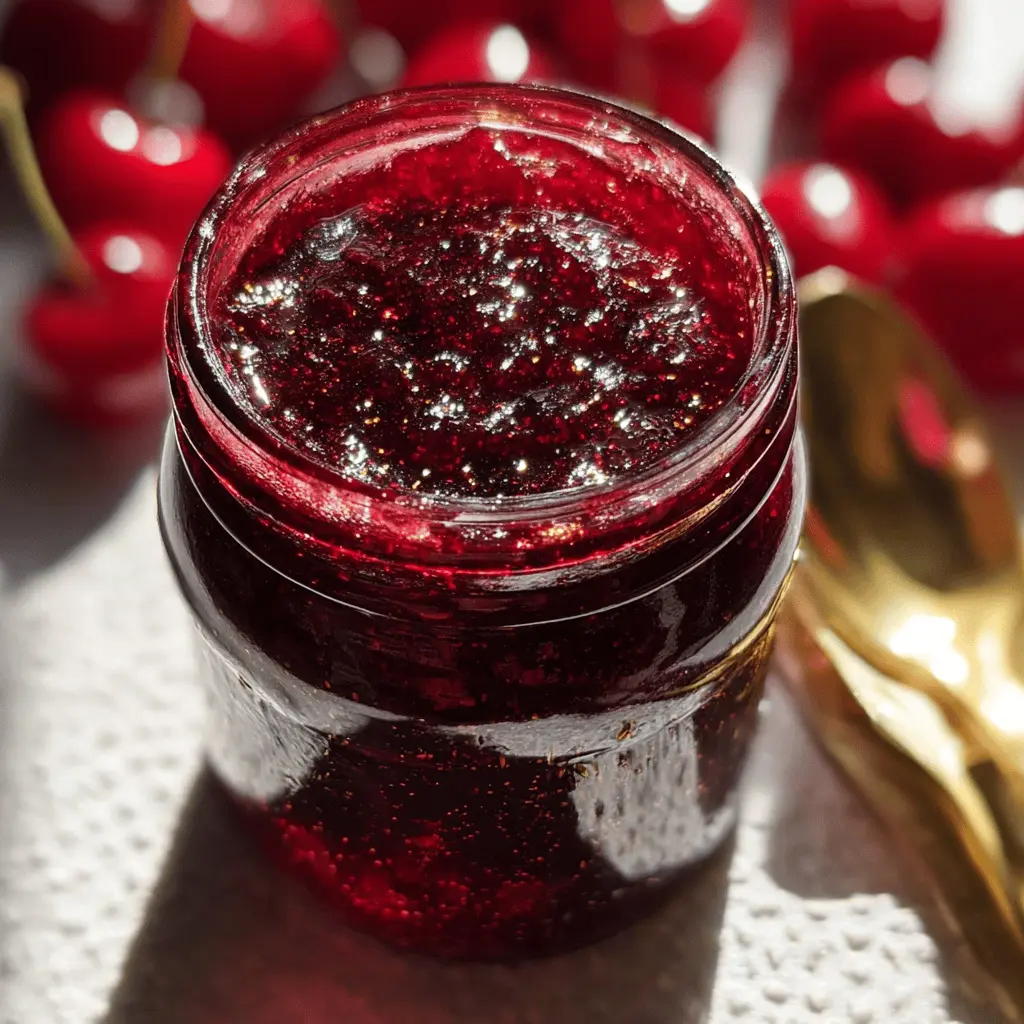
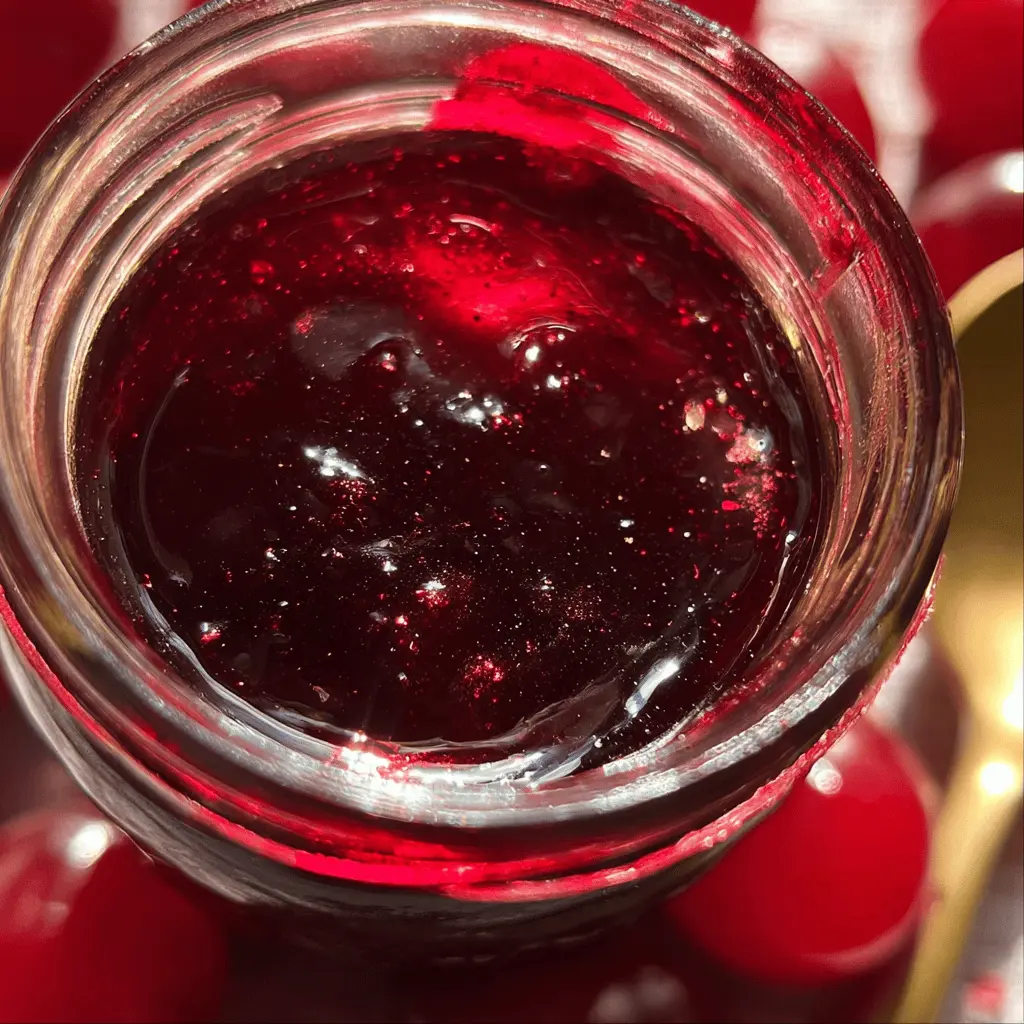
This Easy Homemade Cherry Vanilla Jam is a sweet treat packed with juicy cherries and a hint of vanilla. It’s simple to make and oh-so-delicious on toast or pancakes!
Making this jam is like a summer hug in a jar. I love to spread it on everything, and it also makes a great gift! Just remember, one spoonful might not be enough! 😋
Ingredients & Substitutions
Cherries: Fresh, pitted cherries are key for this jam. If fresh cherries aren’t available, consider using frozen cherries. Just thaw and drain excess liquid before using.
Sugar: Granulated sugar is essential to help preserve and sweeten the jam. If you want a healthier option, you can use honey or agave syrup, but it might alter the flavor a bit.
Lemon Juice: Fresh lemon juice adds acidity, which brightens the flavor. If you don’t have lemon juice, lime juice is a good substitute.
Vanilla Bean: The fresh vanilla bean adds a lovely depth, but you can use pure vanilla extract instead—just keep it simple with one teaspoon.
Fruit Pectin: Pectin helps the jam set. If you prefer a low-sugar option, check for low-sugar pectin varieties available at your store.
How Do I Make Sure My Jam Sets Perfectly?
Getting the right consistency in jam can be tricky, but here are some steps to ensure it sets beautifully. Start by preparing your jars and lids before you make the jam.
- Cook the fruit and sugar until it reaches a rolling boil, then add the pectin quickly to keep it hot.
- Boil continuously and stir constantly to prevent burning. A good rule of thumb is 1-2 minutes after adding pectin.
- Test the jam’s consistency by placing a spoonful on a plate and letting it cool. If it thickens, it’s ready for jars!
Don’t forget to skim off the foam before canning, as it can make your jam look cloudy. Enjoy sweet success!
Easy Homemade Cherry Vanilla Jam
Ingredients You’ll Need:
For the Jam:
- 4 cups fresh pitted cherries (about 1½ pounds)
- 2 cups granulated sugar
- 2 tablespoons fresh lemon juice
- 1 vanilla bean, split and seeds scraped (or 1 teaspoon pure vanilla extract)
- 1 packet (1.75 oz) fruit pectin (such as Sure-Jell)
How Much Time Will You Need?
This fabulous cherry vanilla jam takes about 30 minutes to prepare and cook, plus some additional time for cooling and processing. If you’re canning, plan for another 5-10 minutes for water bathing the jars. In total, you should allow about an hour from start to finish!
Step-by-Step Instructions:
1. Prepare the Cherries:
Begin by washing the fresh cherries thoroughly. Then, use a cherry pitter or a sharp knife to remove the pits. If you like, chop the cherries into smaller pieces for a smoother jam. Place the prepared cherries into a large heavy-bottomed saucepan.
2. Combine the Ingredients:
Add the granulated sugar and fresh lemon juice to the cherries in the saucepan, and stir gently to mix everything together. This mixture will sit for a bit to allow the flavors to meld!
3. Infuse with Vanilla:
If you’re using a vanilla bean, now’s the time to add both the scraped seeds and the whole pod to the pot for maximum flavor. If you prefer extract, save that for later!
4. Macerate the Cherries:
Let the cherry mixture sit for about 10-15 minutes. This step helps the sugar dissolve and draws out the natural juices from the cherries, making for a luscious jam.
5. Cook the Jam:
Place the saucepan over medium heat and bring the mixture to a boil, stirring frequently to prevent sticking. You want it to bubble away nicely!
6. Add Pectin:
Once boiling, add the fruit pectin and bring the mixture back to a full rolling boil that can’t be stirred down. Let it boil for 1-2 minutes while continuing to stir constantly. This step is crucial for thickening!
7. Finish Up:
Remove the saucepan from heat. If you used a vanilla bean, take out the pod now. If using vanilla extract, stir it in at this point for that lovely flavor boost!
8. Prepare for Jarring:
Use a spoon to skim off any foam that may have formed on the top of the jam. This keeps your jam nice and clear.
9. Fill the Jars:
Carefully ladle the hot jam into sterilized jars, making sure to leave about ¼ inch of headspace at the top. Wipe the rims clean to ensure a good seal. Screw on the lids and rings tightly.
10. Process the Jars:
To keep your jam safe for shelf storage, process the jars in a boiling water bath for 5-10 minutes. If you’re planning to use the jam right away, you can skip this step and just let them cool off.
11. Cool and Store:
Allow the jars to cool completely at room temperature. Store them in a cool, dark place where they’ll last up to one year. Once opened, keep the jam in the fridge.
Enjoy your luscious homemade cherry vanilla jam on toast, biscuits, or as a topping for desserts! It’s deliciously sweet and packed with the lovely flavors of summer! 🍒✨
FAQ for Easy Homemade Cherry Vanilla Jam
Can I Use Frozen Cherries Instead?
Yes, you can use frozen cherries! Just make sure to thaw them completely and drain any excess liquid before using them in the recipe. This will help maintain the right consistency in your jam.
How Do I Store Leftover Jam?
After opening, store your cherry vanilla jam in the refrigerator where it can last for up to 3 weeks. If you’ve canned your jam properly, unopened jars can be stored in a cool, dark place for up to one year.
Can I Reduce the Sugar in This Recipe?
You can reduce the sugar, but it’s important to note that sugar not only sweetens but also helps with preservation and thickening. If you want to use less sugar, consider using a lower-sugar pectin option specifically designed for that purpose to ensure your jam sets properly.
What’s the Best Way to Serve This Jam?
This cherry vanilla jam is delicious on toast, biscuits, or pancakes! You can also use it as a filling for pastries or as a topping for yogurt and desserts like cheesecake or ice cream for an extra flavor boost.