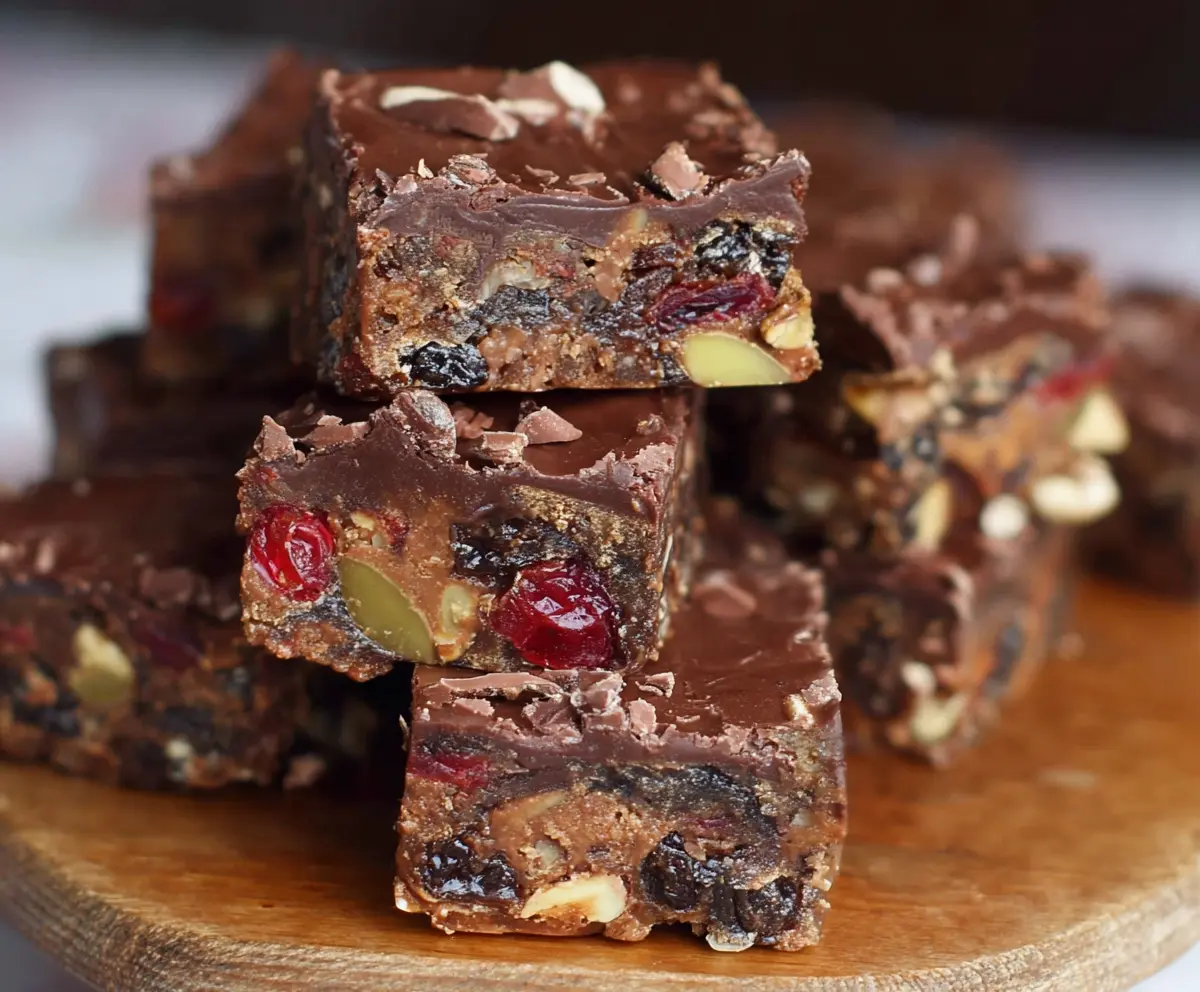
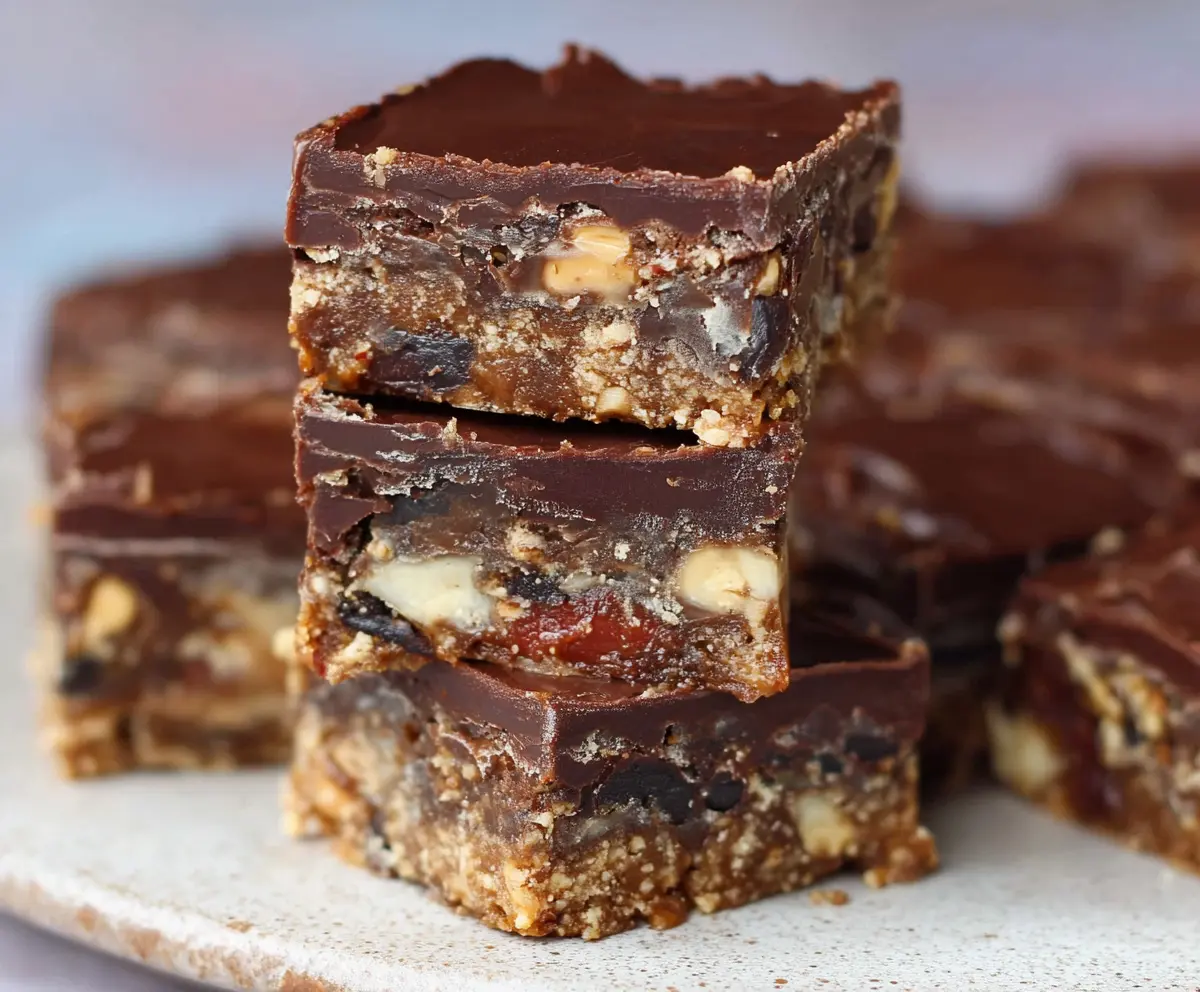
This Gluten Free Chocolate Tiffin is a no-bake treat that’s rich and chocolatey. Packed with nuts, dried fruits, and crunchy biscuits, it’s a fun dessert for everyone!
I love making this when I need a quick sweet fix. Just mix, chill, and enjoy! Plus, it’s a great way to sneak in some healthy ingredients while satisfying my chocolate cravings. 😋
Key Ingredients & Substitutions
Gluten-Free Biscuits: Gluten-free digestive biscuits are essential for the tiffin’s base. If you can’t find them, you can use gluten-free cornflakes or graham crackers as a fun alternative for crunch.
Mixed Nuts: I enjoy using a mix of almonds and walnuts for their flavors and health benefits. If you have nut allergies, try pumpkin seeds or sunflower seeds instead to keep the crunch without the risk!
Dried Fruits: Raisins, cranberries, and dried cherries add sweetness. Feel free to swap in your favorites, like apricots or figs, or use fresh fruit for a change, but adjust sugar accordingly.
Chocolate: I prefer the combination of milk and dark chocolate for depth of flavor. If you’re dairy-free, there are great vegan chocolate options available that work just as well!
Butter: Unsalted butter is my go-to, but coconut oil is a great dairy-free substitute. It adds a nice subtle flavor while keeping it rich.
How Do I Make Sure to Get the Perfect Texture in My Tiffin?
The key to achieving the perfect texture in your tiffin is in how you handle the ingredients. Don’t rush mixing; ensure each ingredient is well combined for that delightful crunch and chewiness!
- Make sure to crush the biscuits into small pieces, but not dust. You want some texture!
- Combine the butter, syrup, and chocolate over low heat without boiling to avoid seizing the chocolate.
- Firmly pressing the mixture into the tray is vital. It helps the tiffin hold together when sliced.
- Let it chill completely in the fridge for at least 2 hours. This ensures it firms up and is easy to cut.
How to Make Gluten Free Chocolate Tiffin
Ingredients You’ll Need:
- 200g gluten-free digestive biscuits or gluten-free cereal flakes, roughly crushed
- 100g mixed nuts (such as almonds, hazelnuts, and walnuts), roughly chopped
- 100g mixed dried fruits (such as raisins, dried cherries, and cranberries)
- 150g milk chocolate or dairy-free chocolate chips
- 100g dark chocolate (for topping)
- 100g unsalted butter
- 3 tbsp golden syrup (or corn syrup/honey for a similar effect)
- Optional: 1 tsp vanilla extract or a pinch of sea salt for flavor enhancement
How Much Time Will You Need?
This recipe takes about 15 minutes of prep time and at least 2 hours to chill in the fridge. In total, you will spend about 2 hours and 15 minutes to enjoy this delicious treat!
Step-by-Step Instructions:
1. Prepare the Baking Tin:
Start by lining a square or rectangular baking tin (approximately 20cm x 20cm) with baking paper. This will help you lift out the tiffin later. If you don’t have baking paper, you can grease the tin well with butter or oil.
2. Mix the Dry Ingredients:
In a large mixing bowl, add your crushed gluten-free biscuits, chopped mixed nuts, and dried fruits. Give them a good stir to combine everything evenly. Set it aside while you prepare the chocolate mixture.
3. Melt the Chocolate Mixture:
In a small saucepan, place the unsalted butter, golden syrup, and milk chocolate over low heat. Stir gently and watch closely until everything melts smoothly together. Make sure the heat is low to prevent the chocolate from burning. Once melted, take it off the heat!
4. Enhance the Flavor:
If you want, stir in 1 teaspoon of vanilla extract or a pinch of sea salt to the melted chocolate mixture. This gives it a lovely depth of flavor.
5. Combine Everything:
Pour the melted chocolate mixture over the dry ingredients in the bowl. Using a spatula or spoon, gently fold the mixture together until everything is well coated. It should look like a lovely chocolatey mixture!
6. Press into the Tin:
Transfer the mixed ingredients into the prepared baking tin. Press it down firmly and evenly using the back of a spoon or your hands. This step is important to make sure it sticks together.
7. Add the Dark Chocolate Topping:
In a separate heatproof bowl, melt the dark chocolate. You can do this over a pot of simmering water or in the microwave in short bursts. Once melted and smooth, pour it on top of the pressed mixture in the tin and spread it evenly to create a beautiful chocolate layer.
8. Chill the Tiffin:
Cover the baking tin with plastic wrap or foil and refrigerate for at least 2 hours, until fully set. This chilling time helps the tiffin firm up properly.
9. Slice and Enjoy:
Once set, take the tiffin out of the fridge. Lift it out of the tin using the baking paper. Place it on a cutting board and cut it into squares or bars. It’s ready to eat!
10. Storage:
Store any leftovers in an airtight container in the fridge for up to one week. You can enjoy them chilled or at room temperature. Happy snacking!
This no-bake Gluten Free Chocolate Tiffin delivers rich chocolate flavor and a delightful mix of crunchy and chewy textures. It’s perfect for any occasion and super easy to whip up!
Can I Use Different Types of Nuts?
Absolutely! Feel free to swap out the suggested mixed nuts for your favorites or what you have on hand. Just make sure they are gluten-free and roughly chopped for the best texture. If you have nut allergies, consider using seeds like pumpkin or sunflower seeds instead!
Can I Make This Recipe Vegan?
Yes! To make this tiffin vegan, simply use dairy-free chocolate chips and replace the butter with coconut oil or a vegan butter alternative. The golden syrup or corn syrup is already vegan-friendly, so you’re good to go!
How Do I Store Leftovers?
Store any leftover tiffin in an airtight container in the refrigerator for up to one week. You can enjoy it chilled straight from the fridge or let it sit at room temperature for a bit if you prefer it softer.
Can I Customize the Dried Fruits?
Definitely! You can mix and match dried fruits based on your preferences. Just keep in mind that some fruits, like dried apricots or figs, can alter the overall sweetness and texture, so adjust accordingly if you decide to add or remove them.