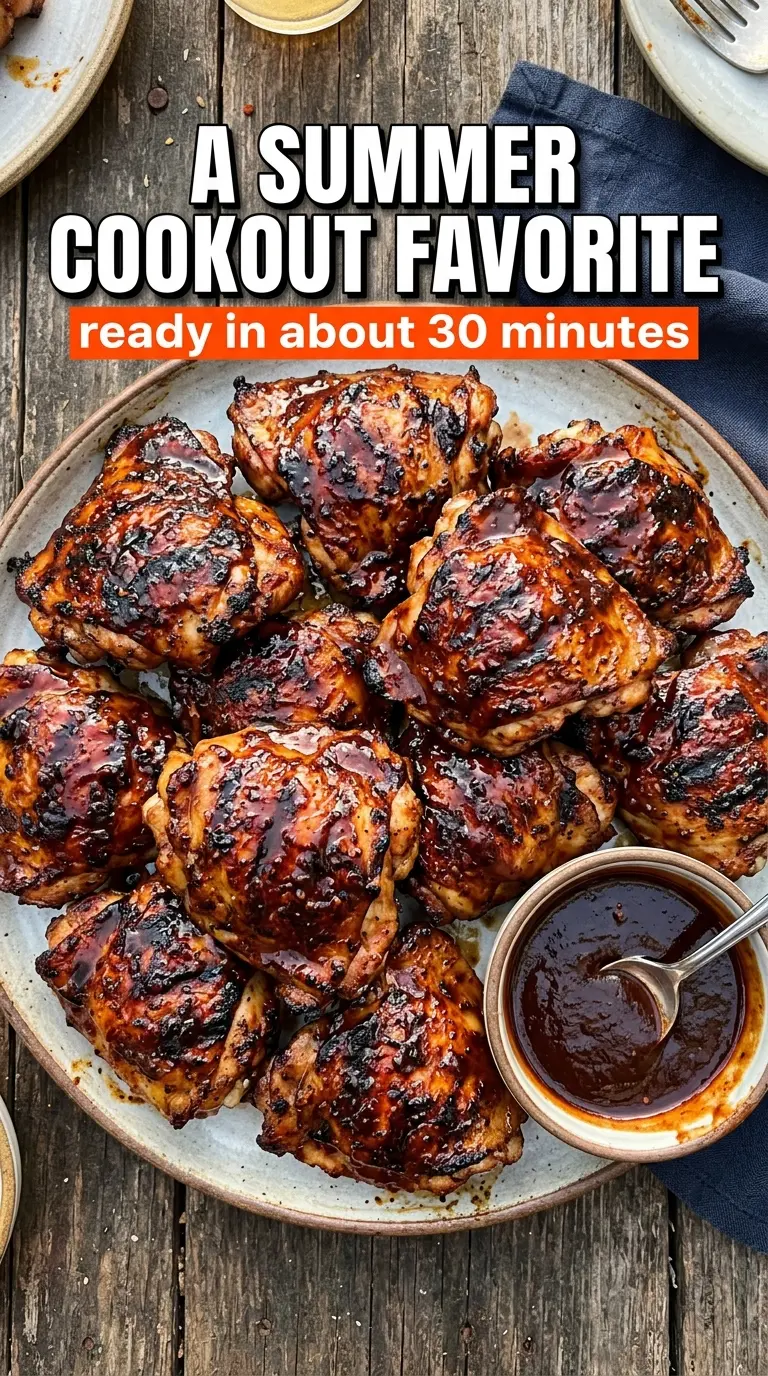
Sticky barbecue glaze, smoky char, and chicken thighs that stay juicy from the first bite to the last are what make these BBQ chicken thighs worth firing up the grill for. The skin turns crisp where it hits the heat, the sauce cooks down into a glossy coating, and the thighs finish with that deep, savory-sweet edge that makes people hover around the grill waiting for the next round.
The trick is keeping the heat in the right place. The thighs start skin-side down so the fat can render and the skin can pick up color before the sauce goes on. Barbecue sauce burns fast because of the sugar, so it gets brushed on after the initial sear, then layered on in thin coats instead of one thick blanket. That keeps the glaze sticky instead of scorched.
Below you’ll find the timing that keeps the chicken juicy, the reason bone-in, skin-on thighs work best here, and a few smart swaps if you need to adapt the recipe for your grill or your pantry.
The skin got perfectly charred before the sauce went on, and the glaze stayed sticky instead of burning. I used the extra brush-on at the end and it tasted like something from a good cookout stand.
BBQ chicken thighs with that sticky-smoky glaze belong on your Pinterest board for the nights when you want a fast grill dinner that still tastes like you planned ahead.
The Reason the Sauce Stays Sticky Instead of Burning
Barbecue sauce is where a lot of grilled chicken goes wrong. The sugar in the sauce darkens fast, and if it goes on too early or too thick, it can turn bitter before the thighs finish cooking through. This version keeps the first part of the cook focused on rendering the skin and building color, then adds sauce once the chicken already has a head start.
That order matters. Bone-in, skin-on thighs can handle the grill time they need without drying out, and the skin acts like a built-in shield while the fat underneath melts. If you skip the initial dry seasoning or crowd the grill, you lose that crisp edge and end up steaming the chicken instead of roasting it over flame.
- Chicken thighs: Bone-in, skin-on thighs give you the juiciest result and the most forgiving cook time. Boneless thighs work in a pinch, but they cook faster and won’t give you the same crisp skin or rich grilled flavor.
- Olive oil: This helps the seasoning cling and encourages browning on the grill. You don’t need a fancy oil here; a standard bottle is fine.
- Smoked paprika: This is doing a lot of the smoky work before the sauce ever touches the chicken. If your barbecue sauce leans sweet instead of smoky, this spice helps round it out.
- Barbecue sauce: Use one you actually like eating from the spoon, because the flavor concentrates as it cooks. Thick sauces glaze better than thin ones, but if yours is loose, just brush on lighter coats and give each one a minute or two to set.
Grill the Skin First, Then Build the Glaze
Seasoning the Chicken Evenly
Rub the thighs with oil first, then work the smoked paprika, garlic powder, salt, and pepper over every surface, including under the skin where you can reach it. The goal is a thin, even coating, not a paste. If the seasoning looks clumpy, the oil wasn’t distributed well enough, and those clumps can burn before the chicken finishes.
Starting With the Skin Side Down
Put the thighs skin-side down on a preheated medium-high grill and leave them alone for 6 to 7 minutes. You’re looking for deep grill marks and crisping at the edges, not a pale surface that still sticks to the grates. If the skin tears when you try to flip, it needed another minute to release cleanly.
Brushing on the Barbecue Sauce
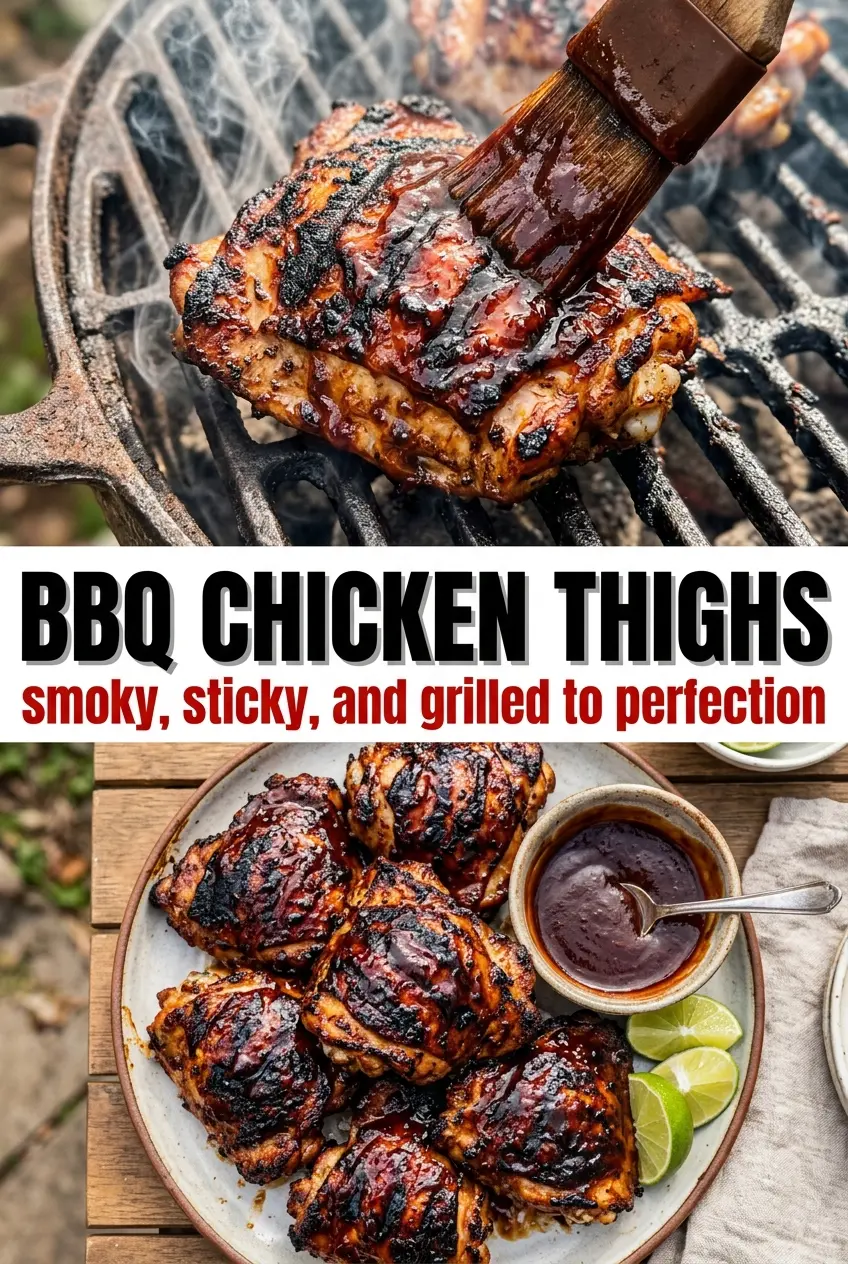
Once the skin has charred, flip the thighs and brush on a generous layer of barbecue sauce. Keep the grill at medium-high, but watch the flames; sauce drips can flare up, so move the chicken as needed if one side starts to scorch. Thin layers work better than one heavy coat because they set into a glossy glaze instead of slipping off.
Finishing to 165°F Without Drying Out
Continue grilling for 12 to 15 minutes, flipping and basting occasionally, until the thickest part of the thigh reaches 165°F. If you want a deeper lacquer, brush on one last layer during the final 2 minutes. Pull the chicken as soon as it hits temperature, then let it rest for 5 minutes so the juices settle back into the meat instead of running onto the cutting board.
Boneless Thighs for a Faster Cook
Boneless thighs work if you need dinner on the table quickly, but reduce the grill time and watch them closely. They won’t give you the same dramatic skin crisping, and the sauce can overwhelm them faster because there is less meat to carry the flavor.
A Gluten-Free Version That Still Tastes Right
This recipe is naturally gluten-free as long as your barbecue sauce is, too. Check the label for hidden wheat-based thickeners or soy sauce, because that is the one place a packaged sauce can trip you up.
Using a Homemade Barbecue Sauce
Homemade sauce works well if it’s thick enough to cling to the chicken. If your sauce is thinner than store-bought, simmer it down first so it doesn’t run off the thighs before it has time to glaze.
Storage and Reheating
- Refrigerator: Store leftovers in an airtight container for up to 4 days. The skin softens a bit in the fridge, but the flavor holds up well.
- Freezer: These freeze well for up to 2 months. Wrap tightly or use a freezer-safe container, and freeze with a little extra sauce to keep the meat from drying out.
- Reheating: Warm them covered in a 325°F oven until heated through, or reheat gently in a skillet with a splash of water and a lid. High heat will dry out the thighs and make the sauce sticky in the wrong way.
Questions I Get Asked About This Recipe
BBQ Chicken Thighs
Ingredients
Equipment
Method
- Preheat the grill to medium-high heat and lightly oil the grates to prevent sticking.
- Rub the chicken thighs with olive oil, smoked paprika, garlic powder, salt, and pepper, coating all sides.
- Grill the chicken skin-side down for 6–7 minutes, until nicely charred, then flip.
- Brush generously with barbecue sauce and continue grilling for 12–15 minutes, flipping and basting occasionally, until the internal temperature reaches 165°F.
- For extra caramelization, brush with one more layer of sauce during the last 2 minutes of cooking.
- Let the chicken rest for 5 minutes to lock in juices before serving.
- Serve with extra barbecue sauce on the side for dipping.