These Easy Sno Ball Brownies are a treat you won’t forget! They have fudgy brownie layers topped with fluffy marshmallow and sprinkled with crunchy coconut. Yum!
Making these brownies is a breeze! I love how they look like little snowballs, and they’re perfect for parties. Just don’t blame me if you can’t stop at one! ☕️🍫
Key Ingredients & Substitutions
Unsalted Butter: I find that unsalted butter is best for baking because you can control the saltiness. If you’re in a pinch, just use salted butter and omit additional salt.
Granulated Sugar: Regular sugar works great, but you could substitute with brown sugar for a richer flavor and denser texture. Just remember that it might make them a bit chewier!
Cocoa Powder: Unsweetened cocoa powder is essential for that deep chocolate flavor. If you’re out, you can use Dutch-process cocoa, but skip any baking powder in the recipe as it may alter the texture.
Marshmallow Cream: If you don’t have marshmallow cream, you can substitute melted marshmallows. Just warm them up for spreading, and they’ll work almost the same!
Shredded Coconut: Sweetened coconut gives these brownies a nice texture. For a healthier option, you can use unsweetened coconut or even crushed graham crackers for a different twist.
What’s the Best Way to Melt Butter for Baking?
Melted butter is a key starting point for many baked goods. To melt the butter perfectly, here’s a simple way:
- Cut the butter into small cubes; this helps it melt evenly.
- Place the cubes in a microwave-safe bowl and microwave in short bursts (about 20 seconds) on low power.
- Stir in between until fully melted; some chunks may remain, but just stirring will finish the melting process.
Avoid overheating, as burnt butter can change the flavor. Let it cool slightly before mixing with sugar to avoid cooking the eggs!
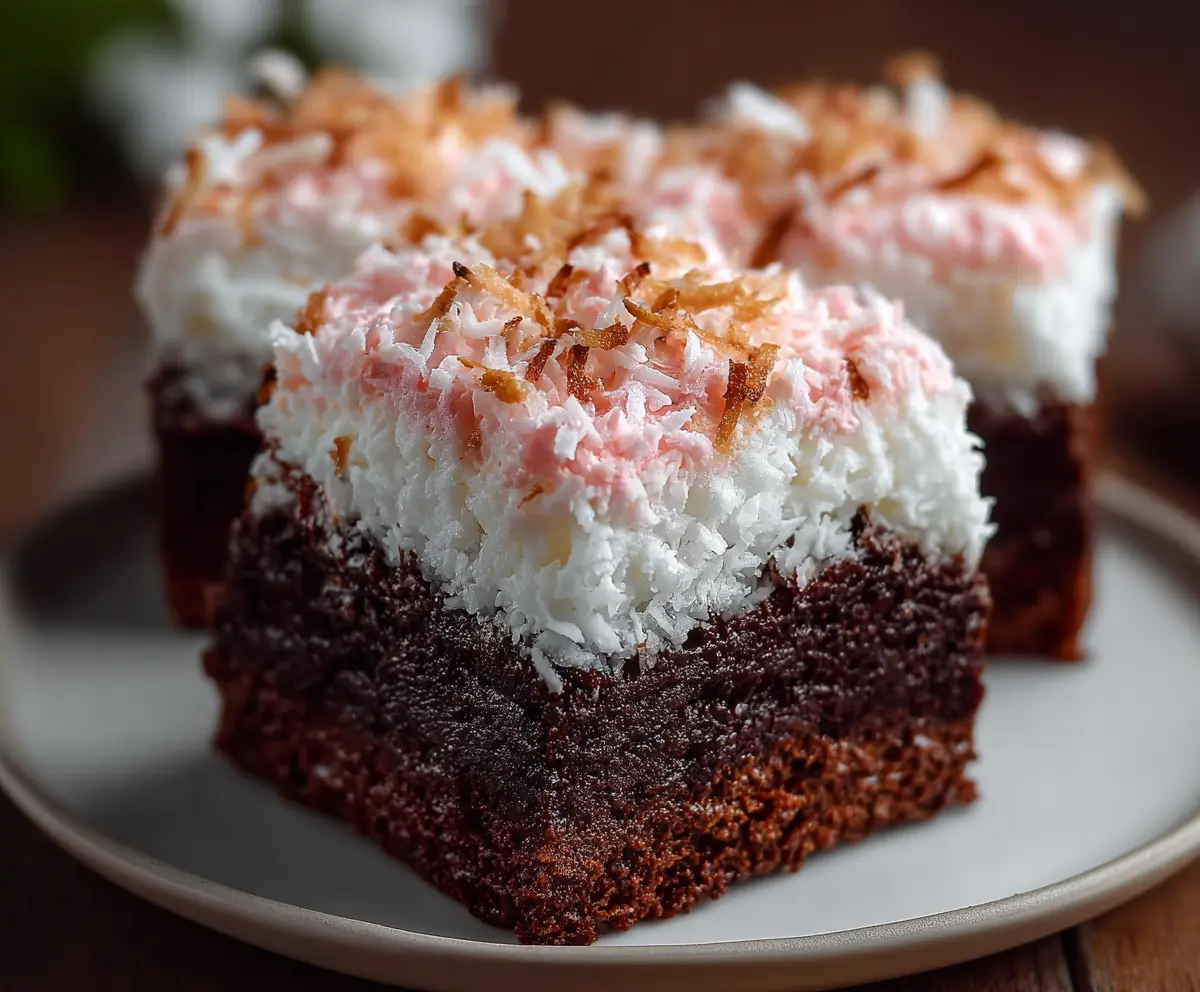
Easy Sno Ball Brownies with Marshmallow Coconut Topping
Ingredients You’ll Need:
For the Brownies:
- 1 cup (2 sticks) unsalted butter
- 2 cups granulated sugar
- 4 large eggs
- 1 teaspoon vanilla extract
- 1 cup all-purpose flour
- 1 cup unsweetened cocoa powder
- 1/2 teaspoon baking powder
- 1/2 teaspoon salt
For the Marshmallow Coconut Topping:
- 1 (7 oz) jar marshmallow cream (marshmallow fluff)
- 2 cups sweetened shredded coconut
- Optional: a few drops of pink food coloring or pink sanding sugar, for decoration
How Much Time Will You Need?
This delicious recipe takes about 15 minutes to prepare and approximately 25-30 minutes to bake. Plus, you’ll need another 5-7 minutes for toasting the topping in the oven. The total hands-on time is minimal, making it a perfect quick treat!
Step-by-Step Instructions:
1. Prepping for Baking:
Begin by preheating your oven to 350°F (175°C). This ensures your brownies bake evenly. Next, grease and flour a 9×13 inch baking pan or line it with parchment paper for easy removal later.
2. Melting the Butter:
In a microwave-safe bowl, melt your butter. Once it’s fully melted, allow it to cool slightly. This step prevents the eggs from scrambling when mixed in.
3. Mixing the Sugar:
Stir the granulated sugar into the melted butter until fully combined. This mixture will help create that moist texture we love in brownies!
4. Adding Eggs and Vanilla:
Next, add the eggs one at a time to the butter-sugar mixture. Beat well after each addition, ensuring everything is nicely mixed. Finish this step by stirring in the vanilla extract for added flavor.
5. Combining Dry Ingredients:
In another bowl, sift together the flour, cocoa powder, baking powder, and salt. This helps eliminate any lumps and ensures an even mixture.
6. Mixing Wet and Dry Ingredients:
Now, gradually add the dry ingredients to the wet ingredients. Stir carefully until they are just combined; be careful not to overmix!
7. Baking the Brownies:
Pour the brownie batter into the prepared baking pan and spread it out evenly. Bake them in the preheated oven for about 25-30 minutes. A toothpick inserted in the center should come out with moist crumbs, but not wet batter.
8. Adding the Marshmallow Cream:
As soon as you take the brownies out of the oven, spread the marshmallow cream evenly over the hot surface. This will make for a melt-in-your-mouth kind of treat!
9. Topping with Coconut:
Next, generously sprinkle sweetened shredded coconut over the marshmallow cream. If you want to make it festive, feel free to add a few drops of pink food coloring or sprinkle some pink sanding sugar on top for decoration.
10. Toasting the Topping:
Return the pan to the oven and bake for an additional 5-7 minutes. This will lightly toast the coconut and set the marshmallow topping.
11. Cooling and Serving:
Remove the brownies from the oven and let them cool completely in the pan on a wire rack. Once they are cool, cut them into squares.
12. Storing Leftovers:
Store any leftover brownies covered at room temperature for up to 3 days—if they last that long!
Now, enjoy your dreamy, snowball-like brownies with that delightful marshmallow and coconut topping—perfect for parties or just a special treat! 🎉
Can I Use a Different Type of Sugar?
Yes, you can substitute granulated sugar with brown sugar for a richer flavor and chewier texture. Just keep in mind that it will alter the brownies’ final taste slightly!
What if I Don’t Have Marshmallow Cream?
No worries! You can replace marshmallow cream with melted marshmallows. Just gently heat them until soft and spreadable, and they’ll work similarly for the topping.
How Should I Store Leftover Brownies?
Store any leftover brownies in an airtight container at room temperature for up to 3 days. For longer storage, you can keep them in the fridge for about a week or freeze them for up to 3 months. Just wrap them tightly in plastic wrap!
Can I Make These Brownies Gluten-Free?
Absolutely! You can substitute all-purpose flour with a gluten-free flour blend. Just make sure it’s a 1:1 substitute for best results.