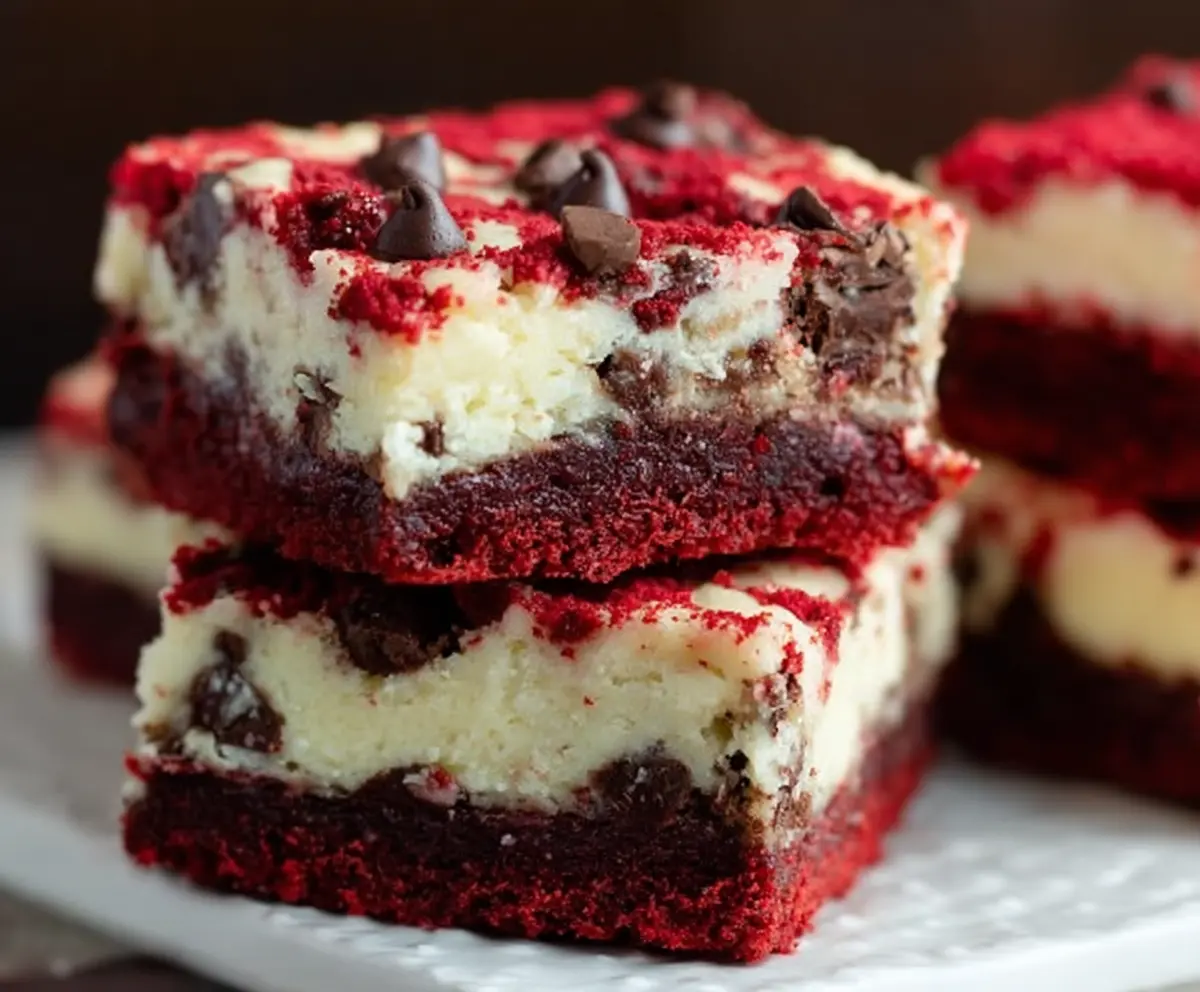
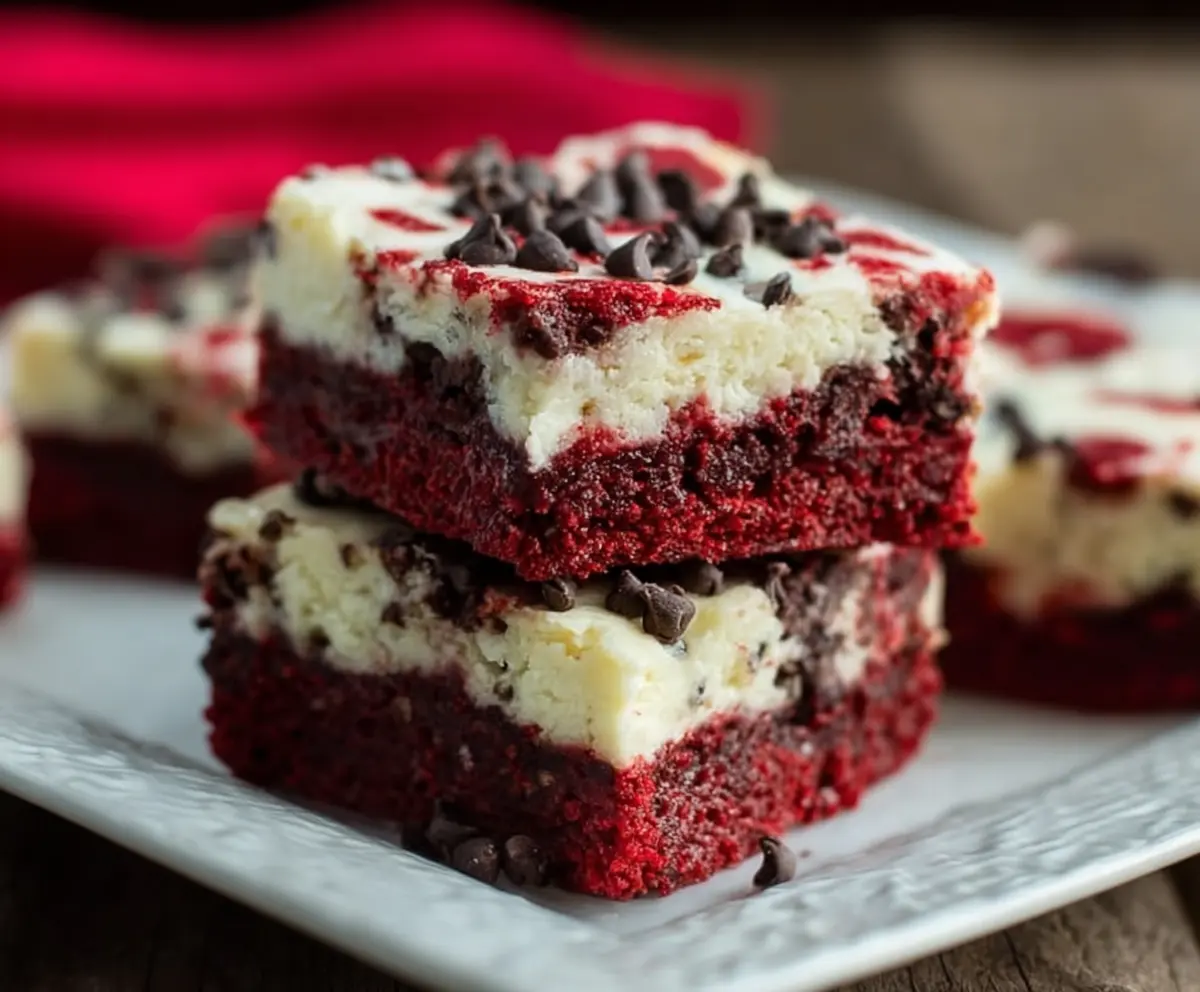
These Red Velvet Chocolate Chip Cheesecake Bars are a treat you can’t resist! With their rich red velvet flavor and creamy cheesecake layer, they are perfect for any sweet tooth.
Who knew something so pretty could taste this good? I love how the chocolate chips add a delightful surprise in every bite. They’re great for sharing—or not! 😄
Key Ingredients & Substitutions
Red Velvet Cake Mix: This mix provides the signature color and flavor. If you’d rather make it from scratch, substitute with a homemade red velvet cake recipe that includes cocoa, buttermilk, and food coloring.
Vegetable Oil: This keeps your bars moist. If you prefer, you can use melted coconut oil or even unsweetened applesauce for a lighter option.
Buttermilk: Buttermilk adds tanginess. You can make a substitute using regular milk with a splash of vinegar or lemon juice; let it sit for 5 minutes.
Cream Cheese: For the cheesecake layer, use full-fat cream cheese for the best creaminess. Low-fat options are available, but they might not be as rich.
Chocolate Chips: Semi-sweet chocolate chips are great. You can swap them out for dark chocolate, white chocolate, or even different flavored chips, like peanut butter or mint, depending on your taste!
How Do You Get a Perfectly Creamy Cheesecake Layer?
The key to a smooth cheesecake layer lies in mixing and baking techniques. Here’s how to ensure it’s perfectly creamy:
- Make sure your cream cheese is at room temperature—it helps it blend smoothly.
- Beat the cream cheese and sugar until there are no lumps. This can take a few minutes.
- Add the eggs one at a time, mixing just until combined. Overmixing can lead to cracks.
- When pouring the cheesecake mix over the red velvet layer, do it gently to avoid disturbing the base.
- Bake until the edges are set but the center still has a slight jiggle. This prevents overbaking, ensuring a creamy texture.
Red Velvet Chocolate Chip Cheesecake Bars
Ingredients You’ll Need:
For the Red Velvet Base:
- 1 box (about 18 oz) red velvet cake mix
- 1/3 cup vegetable oil
- 1 large egg
- 1/4 cup buttermilk
For the Cheesecake Layer:
- 16 oz (2 packages) cream cheese, softened
- 2/3 cup granulated sugar
- 2 large eggs
- 1 teaspoon vanilla extract
- 1 cup mini or regular semi-sweet chocolate chips (divided)
How Much Time Will You Need?
This delightful recipe requires about 15 minutes of prep time and around 35-40 minutes of baking. After baking, you’ll need to chill the bars in the fridge for at least 3 hours before serving. So in total, plan for about 4 hours to make and set these delicious bars!
Step-by-Step Instructions:
1. Preheat and Prepare the Pan:
First, set your oven to 350°F (175°C). While it’s heating, grease a 9×9-inch square baking pan or line it with parchment paper, leaving some overhang for easy removal later.
2. Make the Red Velvet Base:
In a medium mixing bowl, combine the red velvet cake mix, vegetable oil, egg, and buttermilk. Use a spatula or a whisk to mix everything until you have a thick batter. This will be your delicious base!
3. Spread the Base in the Pan:
Press the red velvet batter evenly into the bottom of the prepared baking pan. You want to create a nice, even layer as the foundation for your cheesecake.
4. Prepare the Cheesecake Layer:
In a large bowl, beat the softened cream cheese and sugar together using an electric mixer until the mixture is smooth and creamy. This should take a couple of minutes.
5. Add Eggs and Vanilla:
Add the eggs one at a time, making sure to mix well after each addition. Then, stir in the vanilla extract to enhance the flavor.
6. Fold in the Chocolate Chips:
Gently fold about 2/3 of the chocolate chips into the cheesecake mixture. This adds deliciousness to every bite!
7. Combine Layers:
Pour the cheesecake mixture over the red velvet base, spreading it evenly so every piece will have a bit of that creamy goodness.
8. Top with Chocolate Chips:
Sprinkle the remaining chocolate chips over the top of the cheesecake layer. If you feel fancy, you can even add some red velvet cake crumbs on top for a fun garnish!
9. Bake:
Place the pan in the oven and bake for about 35-40 minutes. You want the edges to be set while the center remains slightly jiggly. Be cautious not to overbake—this ensures a creamy cheesecake layer!
10. Cool and Chill:
After baking, let the bars cool completely at room temperature. Once cooled, cover them and place them in the fridge for at least 3 hours (or longer if you can resist!). This helps everything firm up nicely.
11. Slice and Serve:
Once your bars are fully chilled, use the parchment to lift them out of the pan. Cut into squares, and enjoy these amazing Red Velvet Chocolate Chip Cheesecake Bars!
Enjoy the deliciousness of these delightful treats as a perfect blend of flavors and textures. Indulge in the creamy cheesecake, moist red velvet, and fun chocolate chips sprinkled throughout!
Can I Use a Different Cake Mix for the Base?
Yes! While red velvet gives that classic color and flavor, you can substitute with chocolate, vanilla, or another flavor of cake mix. Just be mindful that it will alter the overall taste and look of the bars.
What If I Don’t Have Buttermilk?
No worries! You can make a quick buttermilk substitute by combining 1/4 cup of regular milk with 1/2 tablespoon of vinegar or lemon juice. Let it sit for about 5 minutes before using it in your recipe.
How Should I Store Leftovers?
Store any leftover cheesecake bars in an airtight container in the refrigerator for up to 5 days. For longer storage, you can freeze them; just make sure to wrap them tightly in plastic wrap and then place them in a freezer-safe container.
Can I Make These Bars Ahead of Time?
Absolutely! These bars are perfect for making in advance. They can be made up to 2 days ahead. Just make sure to keep them refrigerated until you’re ready to serve!