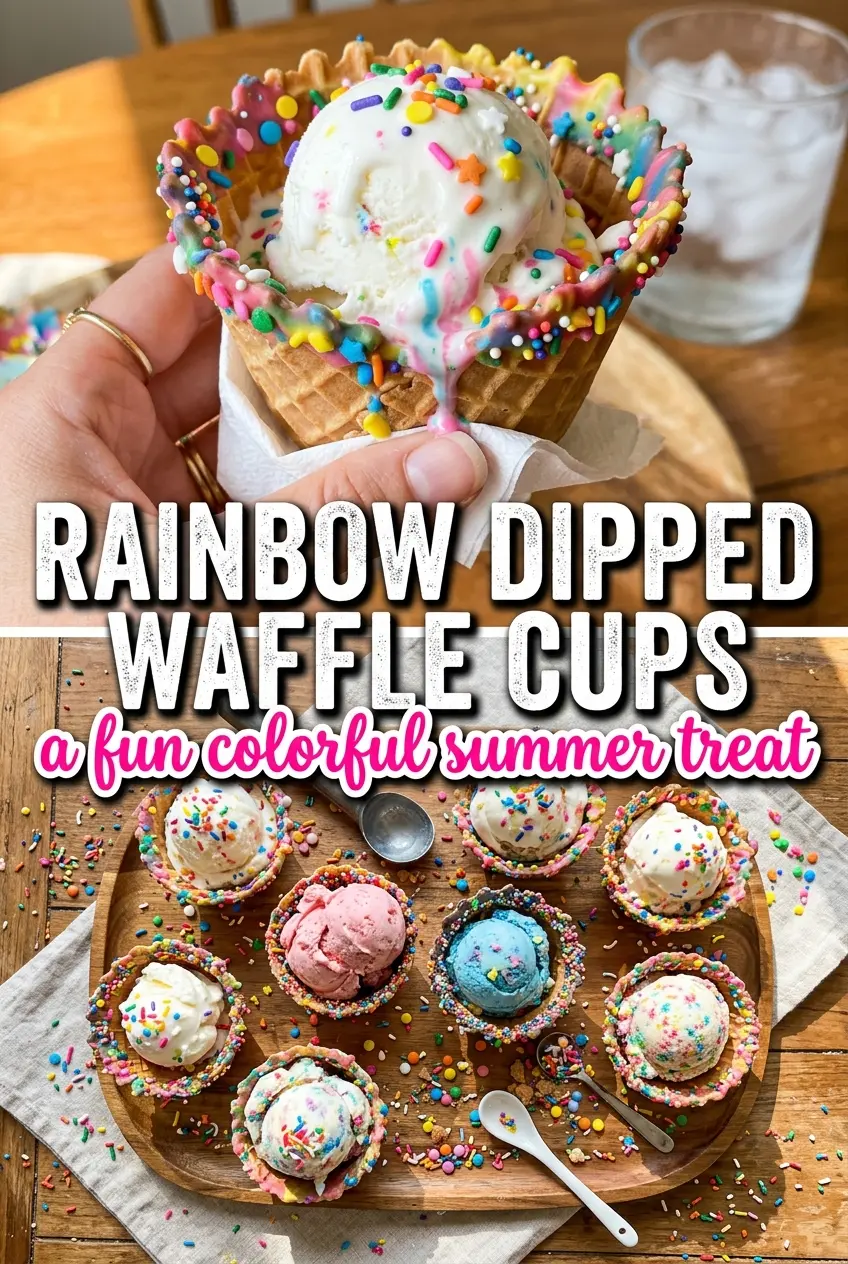
Rainbow dipped waffle cups turn a simple waffle into a crisp little dessert vessel with a candy-coated rim and a shower of sprinkles. The best part is the contrast: a golden, buttery waffle that stays sturdy enough to hold its shape, then a sweet, glossy edge that cracks slightly when you bite into it. They look party-ready without asking much from you in the kitchen.
What makes these work is timing. The waffles need to be shaped while they’re still warm enough to bend, but not so hot that they tear or slump. The candy melts also matter more than people expect. Melt them in short bursts and keep them fluid, because overheated candy gets thick and stubborn fast. Once the rim is dipped, the sprinkles need to go on immediately so they actually stick.
Below, I’ve included the one detail that keeps the waffle cups from flattening, plus a few smart swaps and storage notes for making them ahead for a party.
The waffle cups held their shape beautifully, and the candy coating set fast enough that the sprinkles didn’t slide off. I used them for birthday sundaes and they were crunchy even the next day.
Rainbow Dipped Waffle Cups are the kind of party dessert that disappears fast, especially when the candy coating sets with a clean snap.
The Trick to Keeping Waffle Cups Crisp After You Shape Them
The biggest mistake with waffle cups is letting steam soften them after they come off the iron. If the waffle sits in a pile on the counter, the trapped steam turns the edges limp before you can shape them. Move fast: lift each waffle out, drape it over an inverted bowl, and let the air do the work. That simple step keeps the cup from collapsing while it cools into a sturdy shell.
The candy coating creates another chance for texture to go sideways. If you dip a cup while it’s still too warm, the coating can slide off or lose its shine. If the waffle is fully cool, the rim is harder to coat neatly because the surface is less flexible and the candy sets in uneven patches. Warm and pliable is the sweet spot.
What Each Ingredient Is Actually Doing in This Dish

- Eggs — They give the waffle structure and help it set into a cup without turning fragile. Whisking them with the sugar until light and fluffy adds a little lift, which keeps the waffles from eating dense.
- Granulated sugar — This sweetens the batter and helps the edges brown. Don’t cut it much lower or the waffles lose some of that crisp finish that makes the cups hold up to filling.
- Unsalted butter — Melted butter brings the rich, shortbread-like flavor and helps the waffles release more cleanly from the iron. Salted butter works in a pinch, but the flavor gets a little less controlled.
- All-purpose flour — This is the foundation that gives the cups enough body to bend and stay there. A 1:1 gluten-free blend can work, but the texture will be slightly more delicate.
- Milk — This loosens the batter just enough to spread in the waffle iron without becoming thin. Whole milk gives the best flavor, though any milk you keep on hand will work.
- Candy melts — They’re the easiest way to get bright, smooth color that sets firmly on the rim. Regular chocolate won’t give you the same rainbow look or the clean snap once it hardens.
- Rainbow sprinkles — Add them while the coating is still wet, or they won’t stick. The tiny crunch is part of the fun, especially against the crisp waffle edge.
Shaping the Waffles Before They Set Up
Mixing the Batter Just Until Smooth
Whisk the eggs and sugar first until they look pale and a little thick, then add the butter and vanilla. Stir in the flour and salt only until the dry streaks disappear, then finish with the milk. If you beat the batter hard at the end, the waffles can turn tough instead of crisp.
Cooking to a Golden, Flexible Waffle
Spoon about 1/4 cup of batter into the center of the preheated waffle iron and cook until the waffle is deeply golden and releases cleanly. Underbaked waffles are too soft to hold a cup shape and tend to sag once you drape them. If your iron runs hot, start checking early; you want crisp edges with just enough give in the middle.
Draping While the Waffle Is Still Warm
Flip the waffle over an upside-down bowl right away and press gently so it forms the curve of a cup. If the waffle cracks, it was either cooked too long or you waited too long to shape it. Hold it in place for a few seconds, then let it cool completely before moving it, because that final cooling is what locks in the shape.
Dipping and Decorating the Rim
Melt each color of candy melt in separate bowls in 30-second bursts, stirring between each burst until smooth. Dip only the rim of each cup, then sprinkle immediately before the coating starts to set. If the candy thickens while you work, warm it briefly again; thick candy drags and makes the rim look lumpy instead of glossy.
How to Change These Up for Different Parties and Pantry Situations
Dairy-Free Waffle Cups
Swap the butter for a neutral dairy-free baking stick and use your preferred non-dairy milk. The flavor stays buttery enough for a dessert base, though the cups may brown a touch differently depending on the brand you use.
Gluten-Free Version
Use a cup-for-cup gluten-free flour blend in place of the all-purpose flour. The waffles may be a little more fragile when warm, so shape them carefully and let them cool fully before decorating.
Chocolate Dipped Rim
If you don’t have candy melts, use white chocolate with a little oil-based food coloring or keep it classic with plain white chocolate. Chocolate tastes richer, but it softens more at room temperature, so the rim won’t set as hard as it does with candy melts.
Storage and Reheating
- Refrigerator: Store undipped waffle cups in an airtight container for up to 3 days. Once dipped and sprinkled, they keep best for 1 to 2 days, but the coating can soften slightly.
- Freezer: The plain waffle cups freeze well for up to 2 months if you wrap them tightly and separate layers with parchment. Don’t freeze them after dipping, because the candy coating can turn dull and crack after thawing.
- Reheating: Warm the plain waffle cups in a 300°F oven for a few minutes until crisp again. Skip the microwave; it steams the waffles and makes the cups limp.
Questions I Get Asked About This Recipe
Rainbow Dipped Waffle Cups
Ingredients
Equipment
Method
- Preheat a waffle iron according to the manufacturer’s instructions.
- Whisk together the eggs and sugar until light and fluffy, then whisk in the melted butter and vanilla.
- Add the flour and salt, mixing until just combined, then stir in the milk to form a smooth batter.
- Pour about 1/4 cup batter onto the center of the waffle iron and cook for 2–3 minutes, until golden.
- Working quickly while warm, drape the waffle over an upside-down bowl and gently press to shape it into a cup, then let cool completely.
- Melt each candy color separately in the microwave in 30-second bursts, stirring between each.
- Dip the rim of each waffle cup into a different colored candy melt, then immediately sprinkle with rainbow sprinkles before the coating sets.