Deeply caramelized onions give French onion soup its soul, and the best bowls have a broth that tastes rich before the cheese even hits the broiler. What you want here is that classic contrast: sweet, jammy onions in a savory broth, then a toasted cap of bread covered in bubbling Gruyere. When it’s done right, the spoon sinks through the cheese and the onions underneath feel almost silky.
The long onion cook is the whole game. Four pounds looks like a mountain at the start, but onions lose a huge amount of water as they cook, and the slow browning turns their sharp bite into something sweet and savory. A splash of wine lifts the browned bits off the bottom of the pot, and that’s where a lot of the depth comes from. I like to use both Gruyere and parmesan because Gruyere melts into those long, stretchy strands, while parmesan adds a saltier, sharper finish on top.
Below you’ll find the part that matters most: how to keep the onions from scorching before they caramelize, how to broil the cheese without turning the bread to stone, and what to do if you want to make it ahead for an easier dinner.
The onions cooked down into the sweetest, deepest pile I’ve ever made, and the Gruyere crust went bubbly and browned in just a few minutes. My husband said it tasted like the kind of soup you get at a bistro.
Save this French Onion Soup for the night you want deeply caramelized onions, a rich broth, and a bubbling Gruyere crust that browns under the broiler.
The Part Most People Rush: Turning the Onions Into the Soup
If the onions don’t get all the way caramelized, the soup tastes thin and sweet in the wrong way. That long cook isn’t optional here. You’re not just softening onions; you’re concentrating them until they turn dark gold, jammy, and almost spreadable.
The other place people lose flavor is the bottom of the pot. Those browned bits that form while the onions cook are not a problem to scrub away. They’re the base of the broth once the wine goes in. If the pan starts to look too dry during the onion stage, lower the heat and give the onions a minute or two to release a little more moisture before stirring again.
- Yellow onions — These are the right choice because they caramelize into a balanced sweetness without turning mushy too fast. Sweet onions work, but they can make the soup taste flatter.
- Dry white wine or sherry — This deglazes the pot and adds brightness. If you skip it, the broth tastes heavier and less layered. Use something you’d actually drink; cooking wine leaves a harsh edge.
- Beef broth — This gives the soup its savory backbone. A good boxed broth works fine, but if yours tastes weak on its own, reduce it a bit longer with the onions before serving.
- Gruyere — It melts smoothly and gives that classic nutty finish. If you need a substitute, Emmental or a mix of mozzarella and parmesan will melt well, but the flavor won’t be as deep.
What Each Ingredient Is Actually Doing in This Recipe
- Primary ingredient (the star) — Quality matters most. Choose the best you can find.
- Cooking medium (oil, butter, or broth) — This carries flavors and prevents dryness.
- Seasonings (salt, pepper, spices, herbs) — Layer flavors so nothing overpowers. Build depth gradually.
- Aromatics (garlic, onion, herbs) — Cook with fat to bloom flavors. Become the foundation.
- Supporting ingredients — Complement the main ingredient without overpowering it.
- Sauce or liquid (if applicable) — Brings flavors together. Balance richness with acid.
- Acid (lemon, vinegar, wine, or other) — Brightens and prevents flat-tasting results.
- Final finish (garnish, glaze, or sauce) — Prevents one-dimensional taste and adds visual appeal.
Building the Broth Without Losing the Onion Flavor
Caramelizing the Onions Slowly
Melt the butter and olive oil together, then add the sliced onions with the salt. The salt helps the onions release moisture so they don’t scorch on the bottom. Cook them over medium heat for 60 to 70 minutes, stirring every 10 to 15 minutes, until they turn deep golden and smell sweet, almost like onion jam. If they brown too fast, the heat is too high and the outside will burn before the inside has time to deepen.
Deglazing for Depth
Pour in the wine or sherry and scrape the pot well. The liquid should sizzle and loosen everything stuck to the bottom. Let it cook for about 3 minutes so the sharp alcohol smell cooks off and what’s left tastes rounded instead of boozy. If you skip this step or rush it, the broth will miss the savory foundation that makes the soup taste finished.
Simmering and Seasoning
Add the broth, thyme, bay leaf, and Worcestershire sauce, then simmer for 20 minutes. This is where the soup pulls together and the onion flavor settles into the broth. Remove the herbs before serving and taste before you salt again; the broth, cheese, and bread all bring salt to the bowl, so it’s easy to overdo it. The final soup should taste full and rich even before the cheese goes on top.
Broiling the Cheese Topping
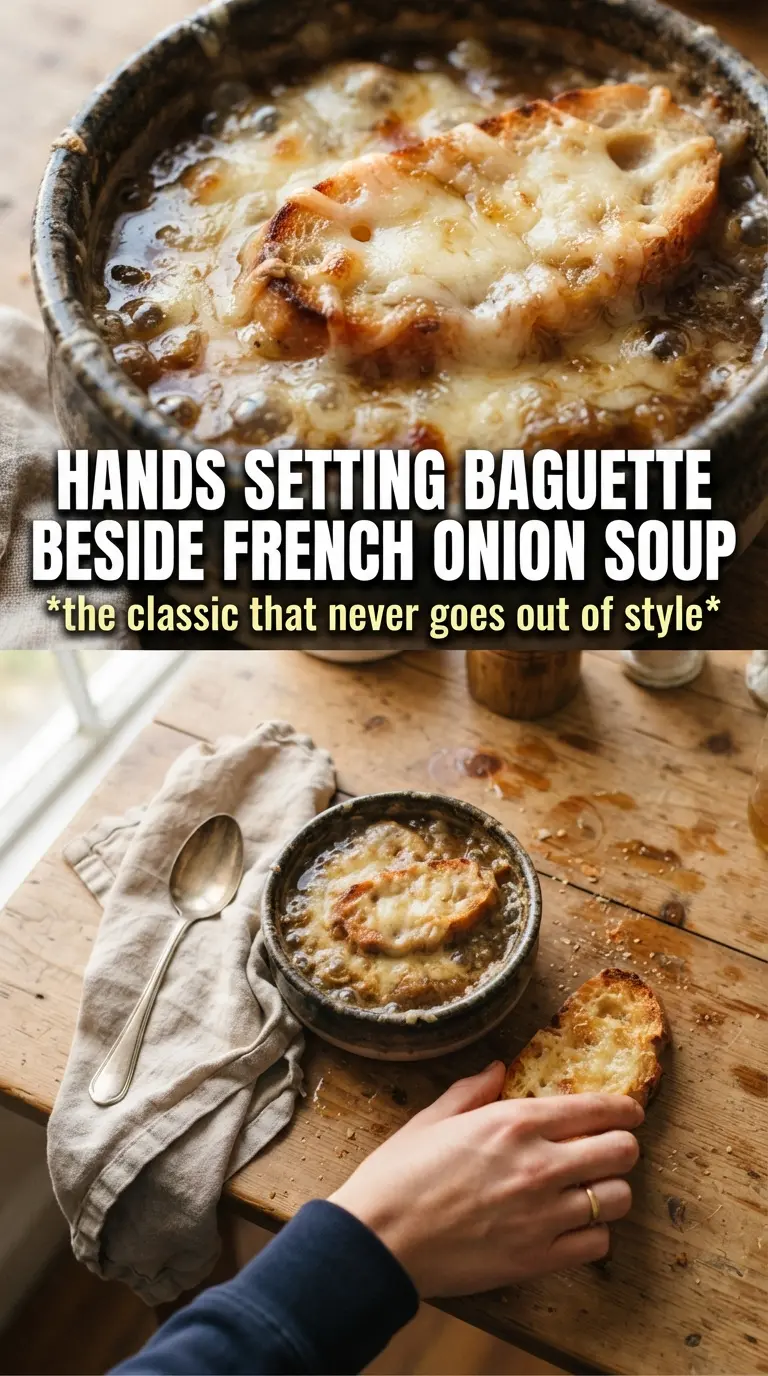
Ladle the soup into oven-safe crocks, float the toasted bread on top, then pile on the Gruyere and parmesan. Put the crocks under the broiler only until the cheese melts, bubbles, and picks up browned spots at the edges. If the bread sits too far above the soup, it can stay dry in the middle and burn on top before the cheese is ready. Keep a close eye on it; the broiler changes the look of the soup in under a minute.
How to Adapt This for a Few Different Kitchens
Make It Vegetarian Without Losing the Deep Flavor
Swap the beef broth for a rich vegetable broth and add an extra teaspoon of Worcestershire only if yours is vegetarian. The soup will still be good, but it’ll taste a little lighter, so let the broth simmer a few minutes longer to concentrate it. A splash of soy sauce can also help replace some of the savory depth.
Gluten-Free Without Sacrificing the Topping
Use a sturdy gluten-free baguette or toasted gluten-free bread slices. The important thing is a dry, crisp base that can float under the cheese without collapsing. If the bread is soft, it turns gummy in the soup instead of holding the topping in place.
Make-Ahead Onion Base for Easier Serving
Cook the onions and broth up to two days ahead, then chill it without the bread or cheese. The flavor gets even better after a night in the fridge, and you only need to reheat the soup, add the crocks, and broil the topping right before serving. This keeps the bread crisp and the cheese bubbling instead of soggy.
Storage and Reheating
- Refrigerator: Store the soup base without bread or cheese for up to 4 days. The onions will keep softening and the flavor gets deeper by day two.
- Freezer: Freeze the soup base for up to 3 months. Leave out the bread and cheese until serving, since they don’t thaw well.
- Reheating: Reheat gently on the stove over medium-low until steaming. Don’t boil it hard or the broth can taste flat and the onions can break down too much before you add the topping.
Answers to the Questions Worth Asking

French Onion Soup
Ingredients
Equipment
Method
- Melt the butter with the olive oil in a large heavy pot over medium heat, then add the onions and 1/2 teaspoon salt. Stir to coat the onions evenly and start softening them.
- Cook the onions for 60-70 minutes over medium heat, stirring every 10-15 minutes until deeply golden, jammy, and caramelized. Watch for even browning at the bottom and along the edges.
- Deglaze with the wine (or sherry) and cook for 3 minutes, scraping up all browned bits from the pot. Let the alcohol reduce so the flavor turns mellow.
- Add the beef broth, fresh thyme, bay leaf, and Worcestershire sauce, then simmer for 20 minutes. Keep the surface at a gentle simmer and stir occasionally.
- Remove the thyme and bay leaf, then season with salt and pepper to taste. Taste the broth and adjust until balanced.
- Ladle the hot soup into oven-safe crocks, then float the toasted baguette slices on top. Arrange the bread so it sits under the cheese layer.
- Pile the Gruyère and parmesan over the bread, then broil for 3-4 minutes until melted and bubbly. Look for a golden-brown top before serving.